- Home
- Cookie Decorating Techniques
- Edible Cookie Images
edible cookie images: everything you need to know
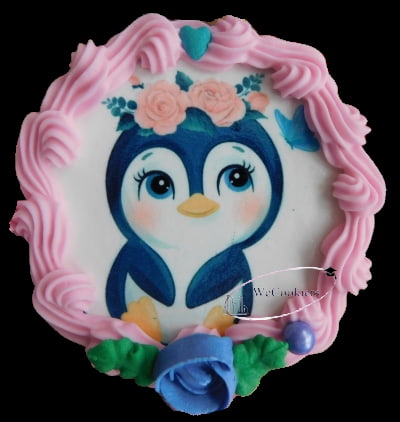
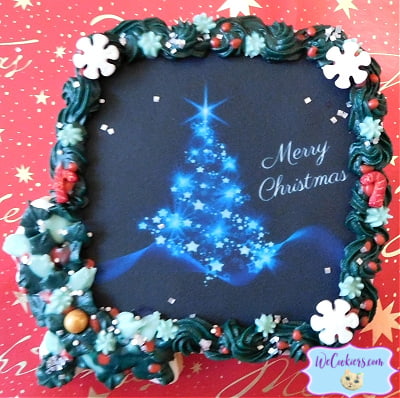
Edible cookie images are a fantastic addition to your sugar cookie decorating techniques.
This page consists of the following (and more) Q&A, video tutorials, and examples.
- Should I get an edible image copier?
- Can I use a regular copier?
- Where do I purchase one?
- How much do they cost?
- Do you have to maintain them?
- How to make professional cookies with edible images?
- How do you attach the image to a cookie?
The video shows you how to adhere the images to the cookie.
Edible cookie image Q & A
1. Should I get one for the expansion of cookie decorating ideas? Can I just get a copier and buy the cartridges separately?
Here’s the thing about edible image copiers, you will have to use them at least once a week. If nothing else, run a regular sheet of paper through it with a color copy.
Why?
The ‘ink’ over time can go over the print head, therefore drying and clogging it. I accidentally left mine set for about 4 weeks. It took so long to get it off the print head.
I didn’t let the printhead (the caddy that holds the cartridges) air dry long enough after soaking it. It cost me my copier!
That was an expensive mistake.
If you are making enough sugar cookies to use weekly, then yes, I would get one.
If you aren’t, then you can still get one and just run the cleaner through it and remove the cartridges in between times.
2. Why should you get an edible image printer?
-huge time-saver
-allows you to take on more orders
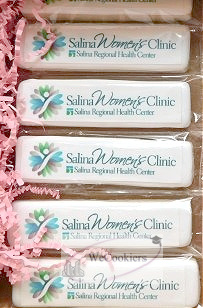
-makes perfect business cards or photos on sugar cookies
-makes your business more professional
-no color bleed worries
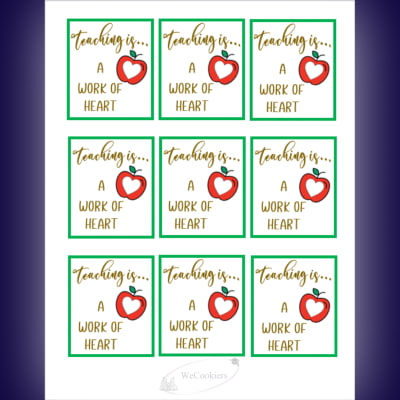
-allows you to take on short notice orders, like these teacher cookies

If you would like the digital download for the edible images, you can buy it now or in my shop via this link or tap on the image below: Shop Gotta-havs! (Sorry, my shop is presently under construction.)
3. Can I use a regular copier?
In short, yes. BUT…
…make sure it’s new and has never been used with regular ink.
4. Where can I buy a complete setup?
I purchased the Platinum Entry Level System through Icing Images. I was incredibly happy with it. It served me well for a couple of years…till that dreadful day (mentioned above).
Icing Images is a super company. Their customer service is second to none.
There are other companies, of which I know nothing about their service or products. Once you hit on a company with outstanding product and service, why change?
All copiers have risen drastically in price...like everything else.
I looked into buying a copier through Canon, which is the brand that accommodates edible ink. This is the brand Icing Images sells.
I did not need the extra icing sheets and wafer paper, so I figured it was cheaper just to buy a regular copier through Canon.
I did not take into account that I still needed to purchase the edible ink cartridges.
All in all, it ended up costing about $30 less than getting the entire system through Icing Images, however, you get icing sheets, and wafer paper, and edible ink cartridges, along with a guarantee through Icing Images and so much more!
Important…
Few copiers offer separate color cartridges. Again, you need this option. The multi-color single cartridge will NOT work.
Result…
It will save you a headache simply going through Icing Images, a BIG headache!
If you are ready and excited to get your edible image system, I have great news! Through this code/link, you will receive a gift of 10% OFF of the total order, just for coming to my door! You read that right, off of the TOTAL order. Here it is, my friends:
I believe in Icing Images so much that I became an affiliate for you. That is how you are able to get that nice discount! No worries, it does not cost you anything, I just get a small commission, should you make a purchase through that link.
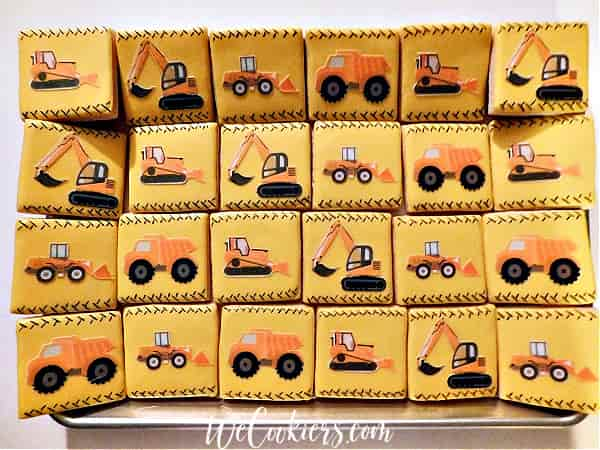
(Printing and cutting edible cookie images)
***The Canon PIXMA TR8620 is what I have, with 5 cartridges, if you are wondering.
5. How much are they?
They are rather expensive (anywhere you go). With everything you need to start, Icing Images, at the time of writing this, has the complete system for $299. But, remember, you can save a whopping 10% off of the total order with this code/link:
6. Do you have to maintain them?
I pretty much answered this above. There’s not much to maintain them. You just need to make sure to run a good color copy off on regular paper at least once a week. I saved a good clear image of a color wheel form google to my computer. I use this image when needed. That’s it!
Don’t worry, the edible ink seems to last forever, thankfully.
7. How do you attach it to the BEST Royal icing or glaze you ever tasted?
Some people use piping gel. I simply use light corn syrup. Take the image with a paintbrush used just for decorating, and brush the syrup on the backside, lightly but make sure it is completely covered. Place on the properly flooded cookies after the royal icing is dry.
Important:
Take every precaution NOT to get syrup, piping gel, or water on the front. You’ll either get a very glossy splotch or an ugly smear.
Once placed on the cookie, some people like to turn the cookie over on its front and let them dry like that overnight. They say it helps so the edges do not curl up.
I have never had a problem with the edges curling up. I’m not sure why some have that problem. Maybe the royal icing recipe? Maybe the brand of icing sheets? Humidity? Using piping gel instead?
8. Can edible cookie images be placed in the fridge?
I also make cakes and regularly place cakes with the images in the fridge. It does not hurt them at all, nor do they curl up. One customer kept forgetting to pick it up and it sat in the fridge for 4 days. I let it come to room temperature before picking it up and it still looked like the day I placed it on.
You should never place decorated sugar cookies in the fridge though. Refrigerators run at 66% humidity and it'll wreak havoc on the cookies.
9. How long will the edible cookie images last on cookies?
They last a good long while. In my experience, easily up to a week.
10. Can you freeze edible cookie images on a cookie?
You certainly can! This cookie was in the freezer for 6 weeks. The edible cookie image looked the same as when it came off the copier.
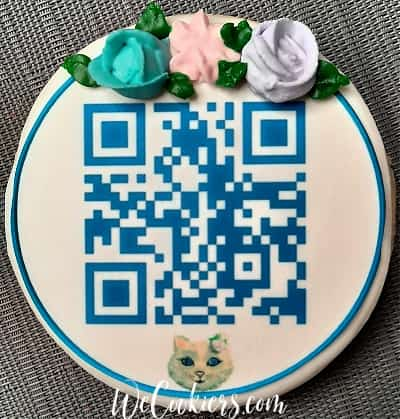
 Cookie after being frozen with an edible image
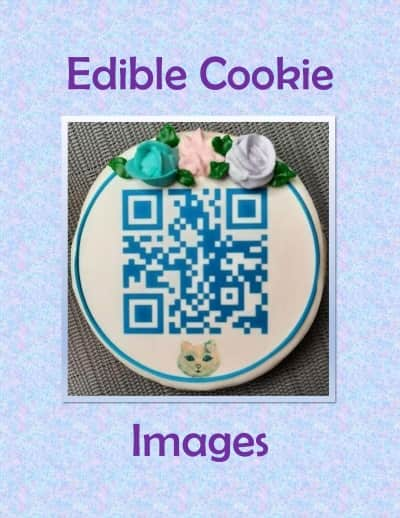
Yes, this edible image cookie can be scanned If you are on a tablet/laptop, try it with your phone now!
Edible cookie images…making professional cookies with edible images
This is a photo of my edible printer:

10% OFF of total order with this code at Icing Images: WECOOKIERS
How do you make professional cookies with edible images? First the right cookie with the right royal icing recipe!
How about adding these to help create a more finished look:
- border
- airbrushing
- flowers
- royal icing transfers
Do you like free clip art? Then you will enjoy Public Domain Vectors.
Using edible images can be a speedy way to do PYO cookies. Using any of these methods for the cookie palette would work great.
(You don't have to take up the entire cookie with an edible cookie image. Small logos can make a great impact!)
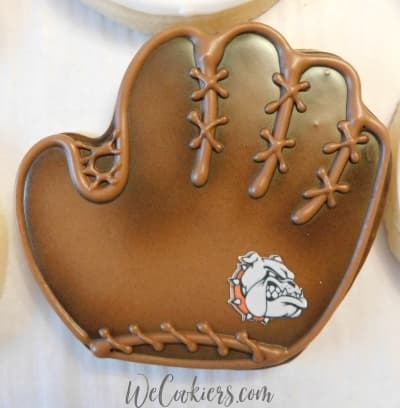
Edible cookie images…a few other things to mention:
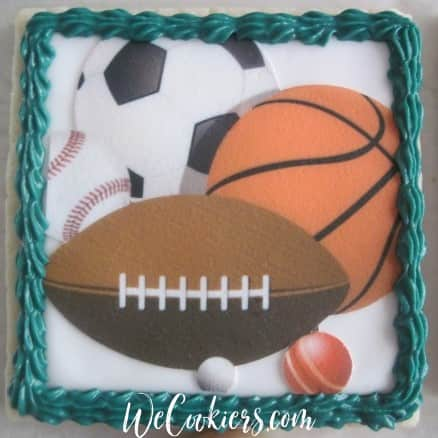
1. Any icing sheets and wafer paper will dry out. Always make sure they are sealed well when you are not using them.
2. Wafer paper, is made from potato starch (rice paper is from rice). Wafer paper is good for making little roses or adding look-a-like lace, butterflies, etc. It’s good for images that stand off the cookie since it’s stiffer than icing sheets.
3. Icing sheets are best for clear pictures like photos, business cards, or anything you need accurate or small lettering on.
I think that pretty much sums it up.
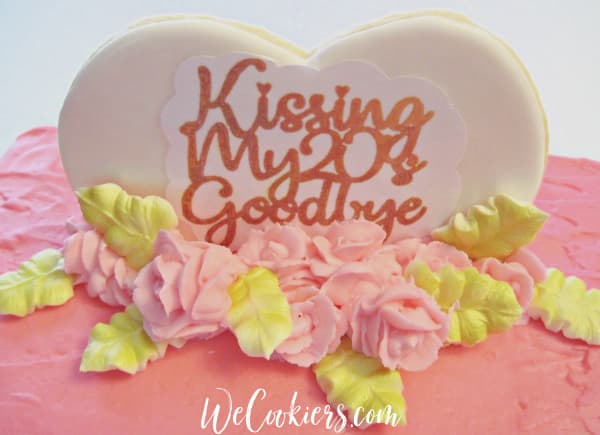 Giant cookie used as a cake topper with an edible image
