- Home
- Cookie Stenciling
- Cookie Stenciling Techniques
- Silk Screen Cookie Stencils
Silk Screen Cookie Stencils...what are they?
Silk screen cookie stencils are made from a 110 mesh silk screen material. They are heat-pressed to the cut HTV.
Here are the supplies you’ll need, from start to finish to make stencils
1. image
2. cutting machine (Cricut, Silhouette, etc.)
3. mat for your cutting machine
4. 110 mesh silkscreen
5.
HTV (heat transfer vinyl)
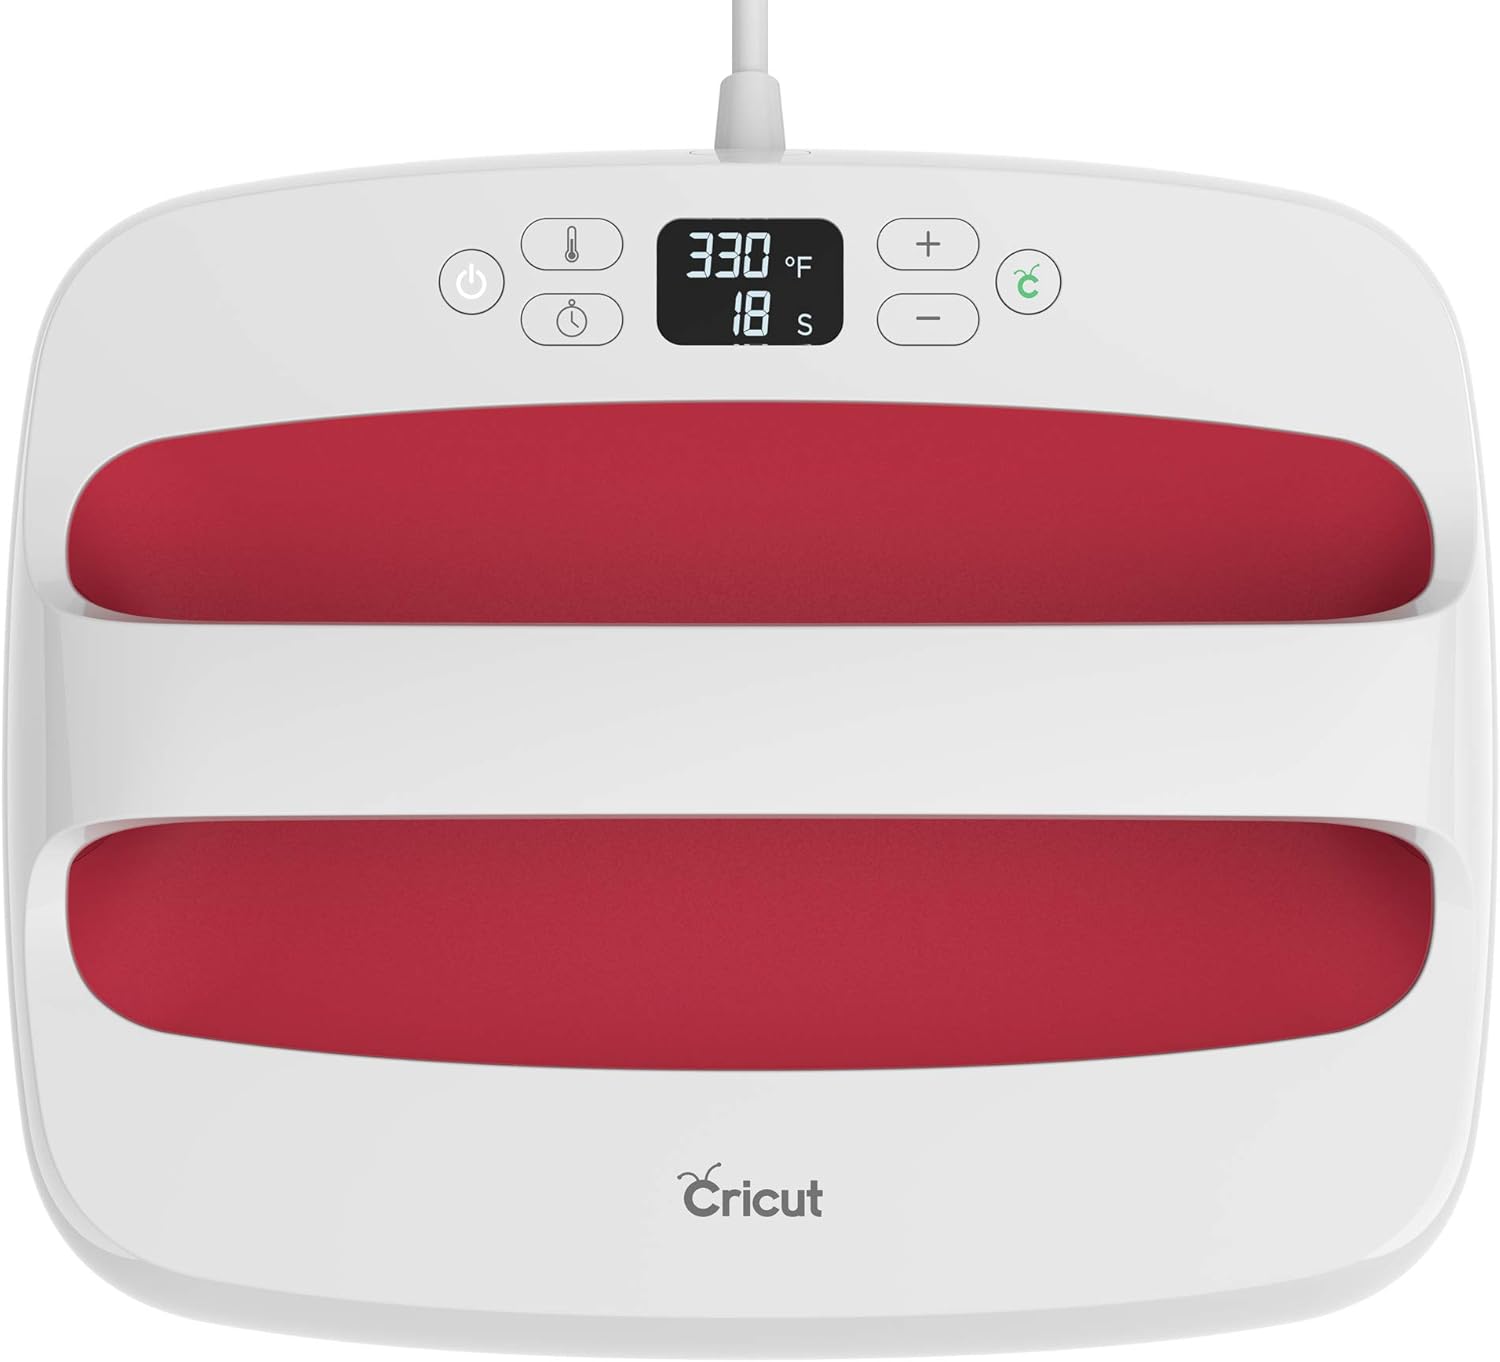
6. EasyPress or other heat press (if you would like an excellent article on the Cricut EasyPress that will help answer questions and see if it is right for you, Joy, at How Joyful is the go-to)
7. Teflon sheet, folded
8. heat press mat
9. scissors or craft cutting board like a Wescott paper trimmer
***Bonus video on changing the blade of the Wescott paper trimmer at the bottom of this page! I've provided many airbrushing tutorials on this site too.
Silk Screen Cookie Stencils…the Making
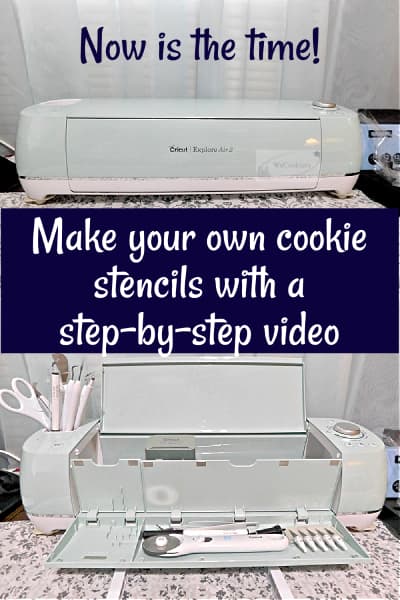
I have two Explore Air 2's. One I bought at our local Walmart, the other on Amazon. Here is a link to an Explore Air 2, to get you started. It's just for the machine, no supplies comes with it, so you may want to browse and see which best suits you.
- Designed with simplicity and value in mind, bust out your DIY dreams and create fresh styles for your T-shirts, home decor, and more with the Cricut Explore Air 2 classic cutting machine
- The included Premium Fine-Point Blade lets crafters make precise, intricate cuts from a variety of popular materials like cardstock, vinyl decal, HTV iron-on, and more. Also works with glitter paper, cork, and Infusible Ink
- With just a few clicks, create personalized and custom designs using the cloud-based Design Space app that works on mobile phones and laptops (iOS, Android, Windows, and Mac)
- ENDLESS POSSIBILITIES - Compatible with 6 tools for cutting, writing, foiling & more (blades & tools sold separately).
I was intimidated at the start, as with anything a
person is not familiar with.
It took me about a half dozen stencils before I started catching on.
Here is the very first stencil I made for sugar cookies (we have to begin somewhere, lol).
Applying medium pressure and 300 degrees for 30 to 35 seconds usually does the trick if you are using the Cricut Easy Press.
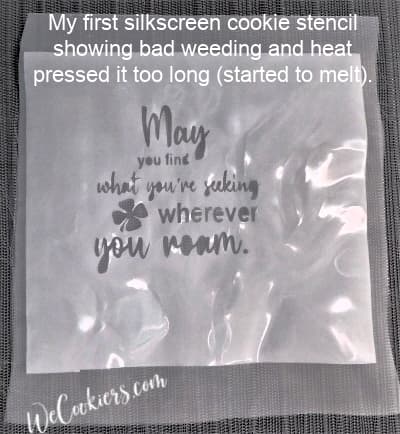
I think my biggest hurdle in learning how to make silk-screen cookie stencils was weeding. I’ll give you a tip down the page on weeding the center of the letters like the A's.
*Weeding simply means taking away the top part of the film that you won't need.
It was a little learning curve figuring out the heat and the timing. Too cool that it won't all stick together. Too hot and it'll start to melt the stencil, like in the image above.
The steps to make silk screen cookie stencils:
1. Cut the image on your cutting machine.
2. Remove from the mat and weed image.
3. Place the Teflon sheet on the pressing mat.
4. Place silk screen mesh on Teflon.
5. Place the HTV of a cut image on top of the mesh.
6. Fold the Teflon sheet over the stack.
7. Heat press together. (I use 300 degrees for 30-36 seconds on my Cricut)
8. Cut the extra mesh away.
You can click here to see the silk screen decorating on the sugar cookies.
Silk Screen Cookie Stencils…details and explanations
HTV: First of all, I buy the Siser EasyWeed Adhesive.
I told you I would give you a tip on weeding those little pieces. This is it,
the Siser EasyWeed.
Don’t let the name fool you. It is not adhesive at all. It has to do with ‘adhering’ foil for t-shirts and such. This is my favorite to use because, as the title infers, it is easier to weed around the inside of a’s, e’s, etc. Those little pieces stay in place much better.
It comes in a 12” x 5 yard (180”) roll.
This makes roughly 86, 5” squares. Just think how many sugar cookies stencils that would allow for!
Silk Screen 110 Mesh: The mesh comes in a folded sheet that measures 50” x 108”. Therefore, it is creased a bit at every fold. As soon as I get time when it comes, I iron it with my EasyPress then go ahead and cut it into 6” squares.
This sheet will make about 150 squares.
That’s a lot of silk screen cookie stencils!
Though it takes time, I prefer to cut the HTV and mesh down and place them in a plastic shoebox, side by side. They are ready when I need them.
Sidebar
I cut them with a Wescott Paper Cutter. A lot of people do not know how to change the blade and/or scoring tools. Therefore, I did this quick video to show you how.
Get my periodical that's packed with lots of great things for you: Free download and newsletter
Heat Press Mat: Obviously, this mat will go under your
heat press. Why not use an ironing board? There are holes in the ironing board and unevenness that could
easily distort your stencils and not let some parts stick together. The mat is
solid.
Teflon Sheet: Any Teflon sheet will do. It does not have to say ‘for heat transfer paper’.
When I purchased some a few years ago, there was a company on Amazon that sold a pack of sheets. I bought them for my dehydrator for the cookies (this is the one I bought and LOVE) and had a few left over. So that’s what I use for my EasyPress.
Oh, and you will be able to use the same sheet almost forever!
Cricut EasyPress 2: Using your hand iron makes it quite tough to adhere the silk screen to the EasyWeed. The holes in the bottom of the iron will not allow those areas to stick very well. Believe me, I tried it over and again!
There are lots of ways how to make professional cookies, not just silk screening. Check out that link on how to make your decorated sugar cookies like no others! Here are some other great cookie decorating ideas as well.
Silk Screen Cookie Stencil…items you will need
These are the products you saw me use in the video...
- Get pro-level heat-transfer results with Cricut EasyPress 2, the speed of a heat press, and the convenience of an iron.
- Control temperature up to 400 F (205 C) and set the timer to take on just about any heat transfer project that comes your way.
- Featuring an advanced heat plate design with a ceramic-coated surface
- Cricut EasyPress 2 is equipped with an insulated safety base & auto-off feature.
- Cricut products are designed and tested in Utah, USA.
- EasyWeed Adhesive 12" - Heat Transfer Vinyl, Authorized Siser Distributor
- EasyWeed Adhesive Applies to 100% cotton Poly/cotton blends 100% polyester
- Heat Press Mat: the inside layers reflect the heat into the clothing item, and help distribute the heat while using heat transfer vinyl (HTV), press times can be far more accurate and consistent
- 12 x 12 Inch Size: makes making T-shirts super easy, works great for many projects, ideal for heat press transfer projects like T-shirts, banners, sweatshirts, blankets, etc.
- Smooth Surface: A large area that's just firm enough to provide a smooth surface and even contact patch for the press;
- Double Sides Use: made of non-stick fire-resistant material, high-quality and heat-resistant, max temperature up to 430, can be used on double sides, suitable for all kinds of heat press machines
- Polyester material, odorless, strong wrinkle resistance, good elasticity, dimensional stability under tension, not easily deformed, resistant to sunlight, abrasion resistance
- Good chemical resistance, resistance to acid and alkali, resistance to dilute acid at room temperature, intolerance to alkali. Selling size:1.27m x 3 Yards
Excellent quality. Withstands 600 degrees. 3-sheet set. Easy to clean with warm water, detergent, and a sponge. Can be used more than 1000 times! 3 Pieces Per Package, 12x16 Inches In Size, Made Of Food Grade TELFON, Reusable.
There you have it. That was a lot to cover.
I'm confident this is all the information needed to start creating your own silk screen cookie stencils. However, if you still have questions, just ask. No question is a silly question: Contact Nita
Top of Silk Screen Cookie Stencils
